Prerequisites
- Slack Account
Step 1: Create Slack Developer Account & App
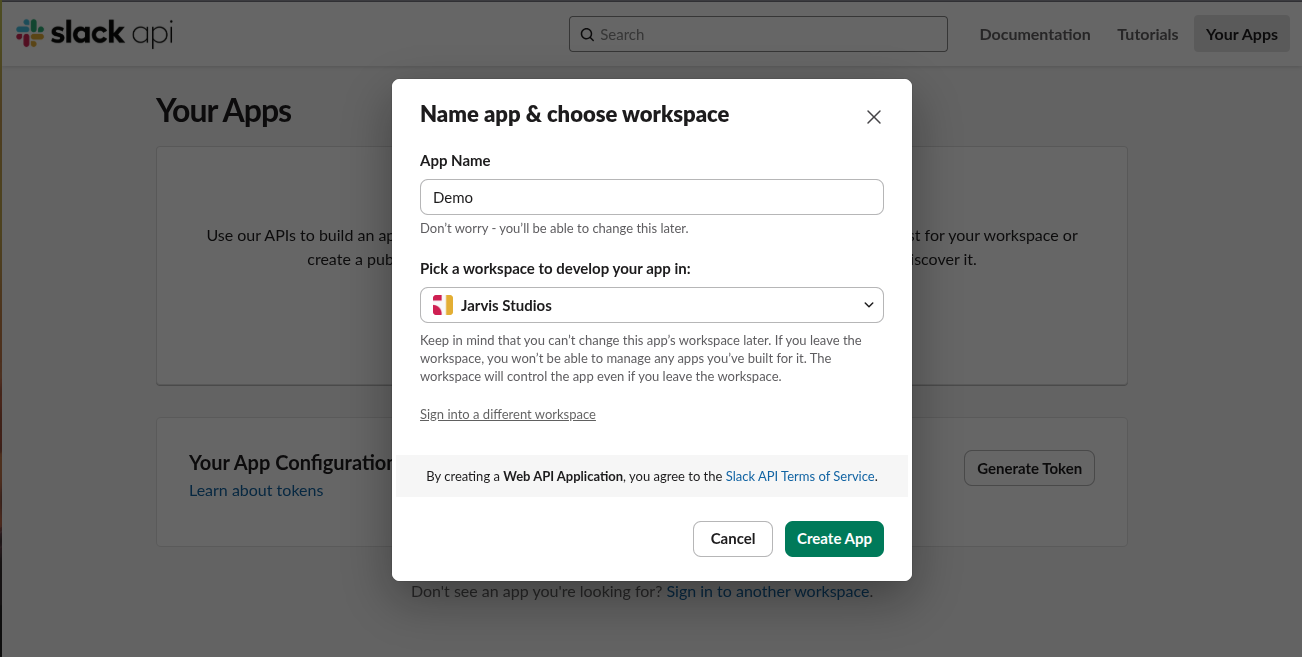
- Visit https://api.slack.com/apps
- On the Your Apps page, select Create New App.
- Select From Scratch.
- Enter your App Name.
- Select the Workspace where you’ll be developing your app. You’ll be able to distribute your app to other workspaces later if you choose.
- Select Create App.

Step 2: Configure OAuth Settings
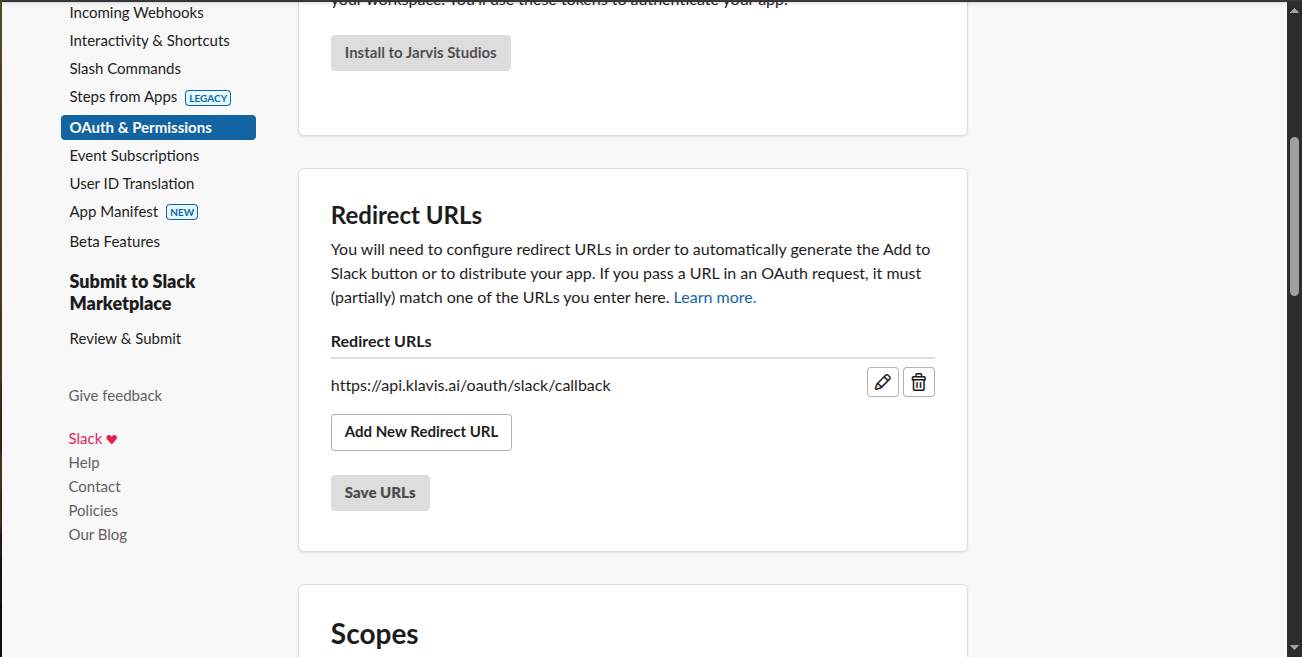
- Go to the “OAuth & Permissions” tab in your application dashboard
- Add redirect URLs:
https://api.klavis.ai/oauth/slack/callback - Click “Save URLs”

Step 3: Request Scopes
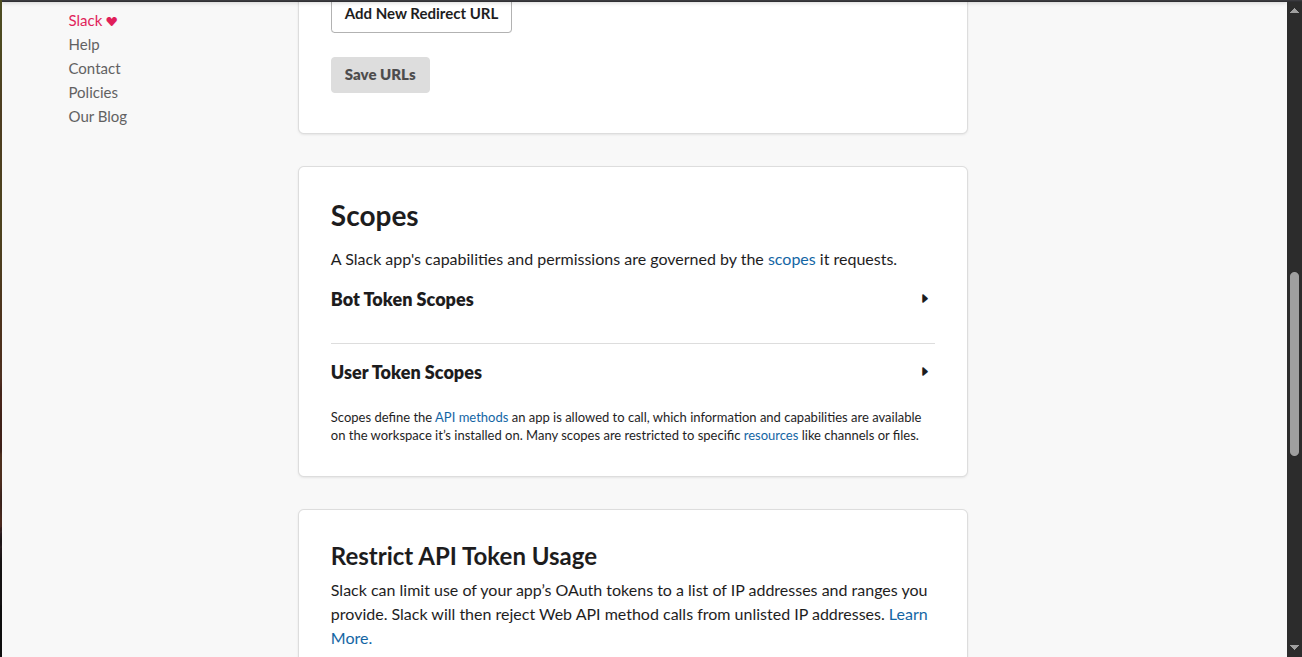
Klavis Slack MCP Server uses the following OAuth scopes:Bot Scopes:
app_mentions:read, channels:join, chat:write, im:history, reactions:read, reactions:writeUser Scopes: channels:history, channels:read, channels:write.invites, chat:write, groups:history, groups:read, groups:write.invites, im:history, im:read, im:write, mpim:history, mpim:read, mpim:write, search:read, users:read, users:read.email- Go to the “OAuth & Permissions” tab in your application dashboard.
- Scroll Down to “Scopes”, and add scopes

You have successfully created a Slack OAuth application! You now have your Client ID and Client Secret ready for integration with Klavis AI.
Step 4: Configure App Distribution
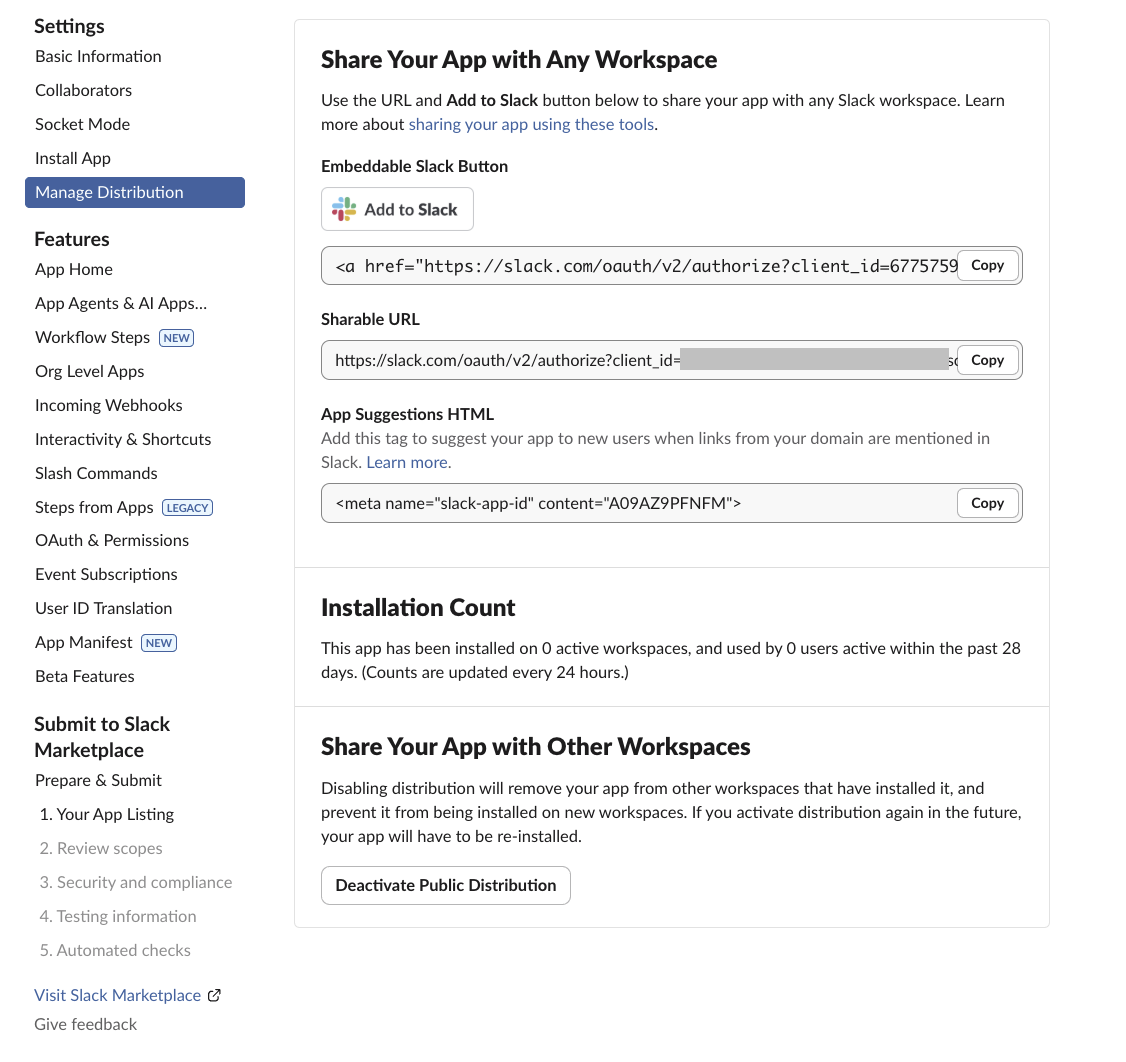
- Go to the “Manage Distribution” tab in your application dashboard
- Configure your app’s public distribution settings as needed

(Optional) Step 5: White Labeling
White labeling allows you to customize the OAuth experience with your own branding instead of Klavis AI’s.
- Configure White Labeling: Go to https://www.klavis.ai/home/white-label
- Add Your Credentials: Enter your Slack Client ID and Client Secret.
- Set Redirect URI: Use
https://api.klavis.ai/oauth/slack/callbackor your custom callback URL - Initiate OAuth: Use your client ID when starting the OAuth flow:
